So. I kind of dropped the ball on party week. Sorry about that. I do have more projects to share and I hope you enjoyed the 3 (plus a few from before) party crafts/ideas.
What can I say? Life has a way of sneaking up on you. I am trying to prioritize more and spend more time with my family and less time on the computer. It's hard work!
On thrifting:
Does anyone else feel like everyone else out there has way better thrift stores with way better finds? I do. I go and have some idea of something I'd like in mind or I try really hard to see the possibilities but I rarely seem to find anything that is as wonderful as things I have seen on blogs.
I will say this: I think it is absolutely wonderful that thrifting is 'in'. Five years ago (rough estimate, actually I just threw a number out there) no one would be caught dead in a thrift store unless they were down and out and couldn't afford anything else. Now I can walk into a thrift store and it is teeming with ladies looking for a ready-to-make-it-into-an-absolute-treasure find. (That's where all the good stuff is going!) I think that is one of the most hopeful things to see. How wonderful that it is trendy (an hopefully one that will last) to save money, to create, to refinish... all of that fab stuff.
Now. I tell you what... I wish houses were like thrift store finds. I saw this house... this AMAZING house. Huge white colonial style mansion with a matching greenhouse. I drove past this house every time I visited my dad and I loved it. It was vacant. Oh how I longed to buy and save that house.
Then.
Graffiti (how lame can you get?!).
Then.
Demolition (even lamer!).
I am sure the house was probably condemned, but I hated HATED to see that treasure die.
NOW they are building some modern monstrosity on the property... No charm. No beauty like that found in a period-style, classic home. :(
If I had had the money...
that would be my huge thrift store treasure ready for fixing up.
Oh well.
Have a good night and good luck thrifting!
Saturday, June 26, 2010
Wednesday, June 23, 2010
party week #3: Do me a favor
PaRtY wEeK
Do me a favor!!! For the third post I am going to give you another favor idea. This time it is for a grown-up girl party. I did these for a bachelorette shower but they would be really cute for a baby shower... spa/pamper mommy theme.

remember this post in which I showed you a super simple and silly favor for a bachelorette shower (since I wasn't around to throw a bridal shower until the night before the wedding)? Well. I had those out in the middle of the tables and I also had these for people to take home:
Inside:

Homemade sugar scrub was included minus the olive oil. These were travelling across 2 states and I didn't want to deal with the mess. (recipe here). I made a big batch of sugar scrub and then divided it between cello bags. It was about 1/4 c. in each.
Below is a picture you can save to you computer/ copy and paste into a word document. I printed out a few sheets of these, cut down the papers, and included one in each kit.

Have fun!
Tuesday, June 22, 2010
Party Week #2: fab favors for kiddos

SO! I had this idea.......
What if you gave a favor at a party to the kids BEFORE the party? What if it was filled with activities for those lulls in time?? Especially when kids aren't the main focus of the party.
I.e. had a b-day party for my little guy, but all our families are just getting started so there aren't a lot of kids for games and my buck-a-roo was turning one: hardly the age to care about what goes on at a party.
SO! I wanted the kids to be able to have fun without parents having to entertain them the whole time.
Here's what I did.

This was a jungle safari themed party so I tried to have activities that fit with that.
I put the following items in a cello bag: chalk, bubbles, a capsule with a sponge-y animal inside that you soak in water to make the animal 'come to life', crazy straw, a jungle animal with a parachute, and (not pictured) a small coloring book made by getting free clipart of jungle animals and putting four pics per page in a word document.
It ended up being bad weather (go figure) so the kiddos couldn't do many of the activities but near the end of the party they were able to and seemed to have a lot of fun.
SO! Next time you're throwing a mixed adult/children party make favor bags for the kiddos to hand out at the beginning and have a ball.
ALSO! Instead of party hats for everyone: I bought some animal masks and crayons and had the crayons laid out on the kiddie table and the kids were able to color their own masks. No supervision was required (although you might need to supervise your group) during the activity and the kids had lots of fun coloring their own and making the animal noises after.
If I had a group of older kids I also would have put out feathers, glue, glitter, sequins, buttons, pom poms, etc. for really dressing up the masks.


Have fun!
Saturday, June 19, 2010
Party Week #1: custom napkins
PaRtY wEeK
To start off party week......
The easiest and least expensive detail in making a shower/party perfect. If you enjoy throwing parties or do a lot of it you know that all the little details really make it all special. I recently threw a baby shower for my cousin and I have this STAMP that I love <3. Plus shower... umbrella... get it?!
SO. today's tutorial is: custom napkins.

Take a stack of colored napkins that 'go' with you party theme. Pick a coordinating stamp color but make sure it will show up on your napkins. Take one napkin aside and use it to test ink colors on if you aren't sure or if your napkins are dark and you need to make sure.
Stamp in the corner of the napkin. You can stamp a small symbol like I did or stamp a name, a date, a phrase, etc. If you are doing your own wedding OR a bridal shower you could stamp the wedding date or the names/ initials. Possibilities are endless. Just make sure it isn't too long! I stamped 40 napkins in 10 minutes or less so this isn't a crazy undertaking. SO! Don't pay for your party store to customize your napkins if you think you'll have time to do your own!!!
Have fun!
Who is going to win the PENNANT?

Party week preview! Here's a little teaser. A small project to get you excited for Party Week on simpler times.
I am going to take all next week, starting Monday to give you some ideas and show you some things I've recently done for parties. Are you excited? I am! Make sure you check back every day for new and exciting and inexpensive party ideas all next week.

So. Pennants. Cute? very.
Quick tutorial on making a pennant. The one I made was for a safari birthday but you could do 'happy birthday', 'it's a boy/girl', 'boy, oh boy'(that's one I just did for a shower I threw but of course forgot to take a picture in all the festivities), etc. etc. etc.

Draw the shape of a triangle. Ideally you have an isosceles triangle{long rather than a short and squat} but I suppose if you like the look of short and squat you can do that. Cut it out with scissors or your paper cutter (I used this to achieve a straighter edge).

You've made a template! Trace out your template onto the back side of the paper you want to use making sure you have enough for all of your letters.

Then you have all of your 'flags'. Cut out embellishments. letters, etc.
I wanted this plain but the baby shower one I made had cut outs of babies, hearts, and umbrellas by the letters.

Hang and enjoy.
Wednesday, June 16, 2010
Notebook makeover!
SO by the way. I have been a slacker. naughty, naughty. BUT. I have posted on project already and am about to post another. I will bombard you with projects!
This one was made for the bachelorette shower I just threw my sis-in-law. I made an advice book for everyone at the party to write down awkward wedding night advice or just good old fashioned marital advice in. You could, however, use this same process to make a new-mom advice book or a cute journal or notebook for yourself.

Take a plain notebook. punch a hole in the cover in the front and the back and thread ribbon through on each side. I threaded a loop through and then threaded the ends through the loop to secure. Make sure you have plenty of ribbon so you can then tie it in a bow.

Cut paper the size of your cover. I only cut paper to cover the front and back but NOT the binding. You still want to be able to open up the book and if you decoupage on the binding you won't be able to bend it.
Put a piece of paper between the cover and the front page.
Layer of mod podge.
your paper smoothed out nicely (unless you want the wrinkled effect which might be cute if you're trying to make it look like an heirloom).
trim/sand with an emory boar the edges for a finished look
distress edges with ink (optional)


I took a 1 1/2 inch ribbon and hot glued along the front, folded it over and hot glued along the back.
I still had that funky orange showing so I glued more ribbon and rick rack on to fill in the gaps.
Turned out to be kismet. I LOVE how it looks with all those ribbon layers.
*Note: I did this step later but wished I had thought of it before. I glued a long strip of ribbon under the 1 1/2 inch ribbon (onto the actual notebook)to use as a book mark.

Embellish as desired.
Voila. A cute and personal notebook/advice book/ journal.
BIRTHDAYYYYYYY

Birthday hat. Siimple, inexpensive, a little silly, and definitely cute!

Take yourself a large dinner plate that almost fills up a 12 by 12 sheet of paper. I bought some flocked paper that looked like fabric but cut like paper!
Draw a circle and cut it out. Cut it in half and you have your start.

roll the ends to each other and keep rolling until your hat is as big or small as you want it. Make suer you don't have a gap at the top.

Hot glue a large pom pom to the tip.

Hot glue pom poms around the bas of your hat.

Sorry. Bad pic. Poke SMALL holes in the sides and thread elastic through tying each side in a knot once you have your desired length for your kiddo.
Voila. Your very own b-day hat.

Wednesday, June 9, 2010
clothespin wreath update

Here is a final picture of my clothespin wreath. I finally got it up in my laundry room today. Woot!
As Advertised
WEll... before the long vacation I promised to have some party projects for you.
Well. I sure do.
Today I am going to start with a very simple favor for a bachelorette party.


Well. I sure do.
Today I am going to start with a very simple favor for a bachelorette party.

I made a tag for the favor using black cardstock and the picture below. I created the picture below and then copied and pasted it into a word document re-sizing it until it was the size I wanted and printed out two pages of 6. Feel free to copy and paste this into a word document, but! the rights are still mine!
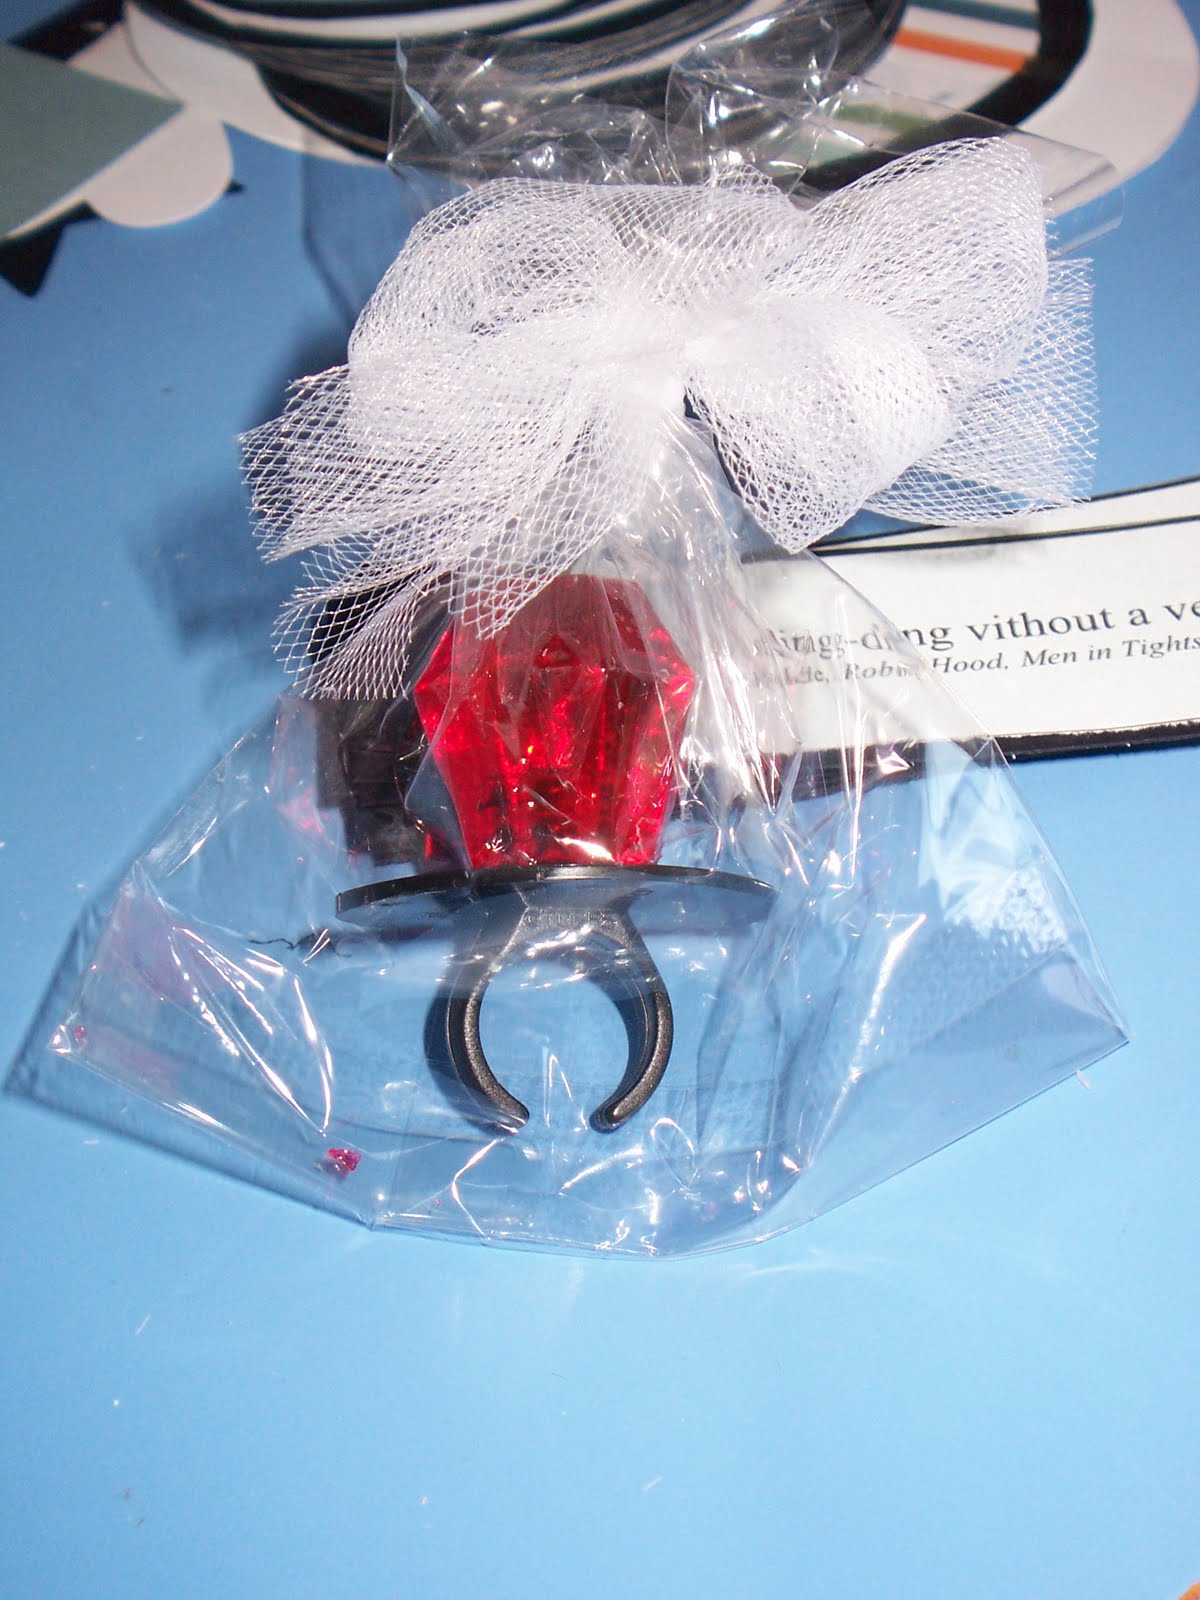
Put a ring pop into a 4 by 6 cello bag and tie up with ribbon or tulle.
Print out your tags and paste onto cardstock. Trim leaving a little space for punching a hole.

Thread onto your ribbon and... voila! A simple and silly favor for a bachelorette party.
Subscribe to:
Posts (Atom)