Showing posts with label paper crafts. Show all posts

Saturday, August 4, 2012

Free nursery art

Of course... this project was free 'cause I had all the supplies, but it wouldn't be expensive anyway.


Take small wooden plaques and Mod Podge your paper on. I did a layer of cute brown paper and then a layer of a plain paper because I wanted my letters to stand out. I then Mod Podged over the paper again to make sure it was all sealed up.  I had to paint my chipboard letters white (they were blue) before I could glue them on. To make sure they stayed well I used E-6000 to glue on my letters.


Pick some ribbon.


Cut one end of your ribbon (it will hang down so make it cute!)


Again, I used E-6000, but you could use hot glue. 


I then glued the ribbon straight down the backs of my little plaques. I also took the top bit of ribbon and glued it into a loop for hanging.


Hang on your wall and voila: cute, cheap (or free) nursery wall art. I used the letter Q,R,S because I wanted to do something a little different than your typical A,B,C.

Wednesday, January 18, 2012

Why I am always behind.... a Valentine's project

The title seems ironic... Valentine's isn't here yet. How can I be behind?
Well, usually I am on top of holidays and ready long before they get here. And you could argue that since it is still a month away I could still say that. But I feel behind. And there is something to be said for that. Ever since having my kiddo I have felt perpetually behind. And I can't seem to catch up. Does anyone else feel this way? I always plan to get organized, to be prepared, to make elaborate things and REALLY get into holidays. But. Anyway. I have caught the Valentine's bug and had to make something today. All of this came from stuff I had lying around in my craft... blob. So, free. Bonus.


Wooden plaque. White paint. Heart cutouts. Bakers twine. Rub-on "love". Mod Podge.

You know the drill. Paint the plaque. Mod Podge the hearts down. Rub on the "love". Mod Podge to seal. Tie mini knots. Dip paint brush end in Mod Podge. Put paint on knot. Press. Dry. Voila! I have put mine resting in a black five by seven picture frame. Which is in a plate rack... thing. You could glue ribbon to the back and hang. You could drill holes. Whatever.

Have a happy day. Looks like we may actually get some snow. Better now than May, I suppose.

Saturday, March 5, 2011

Pap, pap, papioca... PAPER

So do you remember this:
from this post?

Well I bought the paper towel holder at Ross for 2 or 3 dollars. It was white and it had a rooster. I'm not a rooster person, not really. So I made it ME. I had hoped to make more as Christmas presents for my sisters but could never find any for a good price and it was hard to find any that were un-varnished.


Recently I was at my local thrift store and picked up two for $1.50 each. SCORE! They had clear coat on them but I just sanded them before painting.


One of these is for my sister. My other sister has one she likes so I just made over the other one for fun. Maybe I'll sell it at a craft/ yard sale I'm planning.


As always: Pick your coordinating paper, cut it out, mod podge, smooth, mod podge, and put together.


I did a smaller circle of a coordinating paper for some visual interest.


My sister has simple taste and her kitchen is black and white so I just did this paper. Simple, but cute. I could have painted the top black, and if she wants me to I still will.

And for the reveal:


Thursday, December 30, 2010

Valentine's project!

I must admit that I love Christmas but the very next day I want my tree down, the clutter gone and the house to be organized.
Most years I am actually able to get the tree down and the decorations put away very quickly. This year was no exception and I am loving the open, fresh, clutter-free feeling.
But. There's still snow outside and that depresses me.
I set a goal for myself that I would stop looking so far to the future and enjoy what's happening now. I guess I'm not doing a very good job ;).
About this time each year I get excited to spread spring through my house. Spring is reaching for it, I suppose and so I settle with throwing some pink (a very springtime color) into my life.
I do not, however, own Valentine decorations. I know. I just never really bought any. And then last year I was going to make a door hanging, but I didn't start it until the week before Valentine's day and it took too long so I made a spring one instead. Here's that post.
So I made my first ever Valentine's Day decoration. Let me know what you think!


As always, not great pictures, but I think it turned out kind of cute!

I used a wood plaque and then the large "Be Mine?" card from the "Vintage Valentine" Valentine Cards paper from Fancy Pants Design (Nancie Rowe-Janz apparently designed it).
Painted the plaque with a mix of sea foam green and moss green paint (dull down the sea foam). The paper has the light green as the "Be Mine?" background and in the polka dots so I thought I'd do something other than standard pink and red.
Mod podged a layer, papered, then mod podged again.
Used my hot glue gun to attach tulle (pink and aqua), yarn bits that look like feathers, paper flowers, and a bronze flower.
I used dimensional magic to go over the frame on the paper once the Mod Podge had dried and in the center of the middle flower.

What are you planning to make for Valentine's Day? What colors are you thinking about using?

Friday, July 2, 2010

4th of July wreath project

So. No. this is not a wreath. BUT. I have this fab wreath. Simple but perfect for spicing up for each holiday. Thought I needed something for the 4th. I don't have any decorations for this holiday. Considering I am up for a party any time and love holidays because they provide the opportunity to do just that... this is a weird thing!

I got this really awesome frame at the thrift store. Big, chunky, awesome. Ugly, too. That's where my plan began.


I bought some thin carboard at my local craft/school supply store and used their die cutting machine to cut out the star. I cut out two carboard stars so I could glue them together to make it more sturdy.

Using spray adhesive I glued the two cardboard stars together and then glued my paper on. I had traced my stars onto the paper and then cut them out. Had I been thinking I would have just die cutted my paper stars too. oh well, huh?


I sanded the edges where my paper hung off. If you die cut you can skip this part. I took barn red acrylic paint and just painted the edges of the star where you could see the cardboard.


I then had my ultra-strong hubby punch a hole through the star.


Mod Podged the whole thing front back AND edges/sides.

Spray the frame and the star with clear coat (I use matte) so it will hold up outside.


I used one pattern on one side and then another pattern on the other so I could have a more cute one and then a fancier one. I might layer a smaller star in the middle, add some glitter... but for now I wanted to put it up AND I thought it was pretty cute as is. Just hang the star by a thread so you can flip it if the mood strikes.


Have fun and happy Fourth.

Saturday, June 19, 2010

Who is going to win the PENNANT?


Party week preview! Here's a little teaser. A small project to get you excited for Party Week on simpler times.
I am going to take all next week, starting Monday to give you some ideas and show you some things I've recently done for parties. Are you excited? I am! Make sure you check back every day for new and exciting and inexpensive party ideas all next week.


So. Pennants. Cute? very.
Quick tutorial on making a pennant. The one I made was for a safari birthday but you could do 'happy birthday', 'it's a boy/girl', 'boy, oh boy'(that's one I just did for a shower I threw but of course forgot to take a picture in all the festivities), etc. etc. etc.


Draw the shape of a triangle. Ideally you have an isosceles triangle{long rather than a short and squat} but I suppose if you like the look of short and squat you can do that. Cut it out with scissors or your paper cutter (I used this to achieve a straighter edge).


You've made a template! Trace out your template onto the back side of the paper you want to use making sure you have enough for all of your letters.


Then you have all of your 'flags'. Cut out embellishments. letters, etc.
I wanted this plain but the baby shower one I made had cut outs of babies, hearts, and umbrellas by the letters.


Hang and enjoy.

Wednesday, June 16, 2010

Notebook makeover!

SO by the way. I have been a slacker. naughty, naughty. BUT. I have posted on project already and am about to post another. I will bombard you with projects!

This one was made for the bachelorette shower I just threw my sis-in-law. I made an advice book for everyone at the party to write down awkward wedding night advice or just good old fashioned marital advice in. You could, however, use this same process to make a new-mom advice book or a cute journal or notebook for yourself.

Take a plain  notebook. punch a hole in the cover in the front and the back and thread ribbon through on each side. I threaded a loop through and then threaded the ends through the loop to secure. Make sure you have plenty of ribbon so you can then tie it in a bow.


Cut paper the size of your cover. I only cut paper to cover the front and back but NOT the binding. You still want to be able to open up the book and if you decoupage on the binding you won't be able to bend it.
Put a piece of paper between the cover and the front page.
Layer of mod podge.
your paper smoothed out nicely (unless you want the wrinkled effect which might be cute if you're trying to make it look like an heirloom).
trim/sand with an emory boar the edges for a finished look
distress edges with ink (optional)


I took a 1 1/2 inch ribbon and hot glued along the front, folded it over and hot glued along the back.
I still had that funky orange showing so I glued more ribbon and rick rack on to fill in the gaps.
Turned out to be kismet. I LOVE how it looks with all those ribbon layers.
*Note: I did this step later but wished I had thought of it before. I glued a long strip of ribbon under the 1 1/2 inch ribbon (onto the actual notebook)to use as a book mark.


Embellish as desired.

Voila. A cute and personal notebook/advice book/ journal.

BIRTHDAYYYYYYY

Birthday hat. Siimple, inexpensive, a little silly, and definitely cute!


Take yourself a large dinner plate that almost fills up a 12 by 12 sheet of paper. I bought some flocked paper that looked like fabric but cut like paper!
Draw a circle and cut it out. Cut it in half and you have your start.

roll the ends to each other and keep rolling until your hat is as big or small as you want it. Make suer you don't have a gap at the top.


Hot glue a large pom pom to the tip.


Hot glue pom poms around the bas of your hat.


Sorry. Bad pic. Poke SMALL holes in the sides and thread elastic through tying each side in a knot once you have your desired length for your kiddo.

Voila. Your very own b-day hat.


Wednesday, June 9, 2010

As Advertised

WEll... before the long vacation I promised to have some party projects for you.
Well. I sure do.
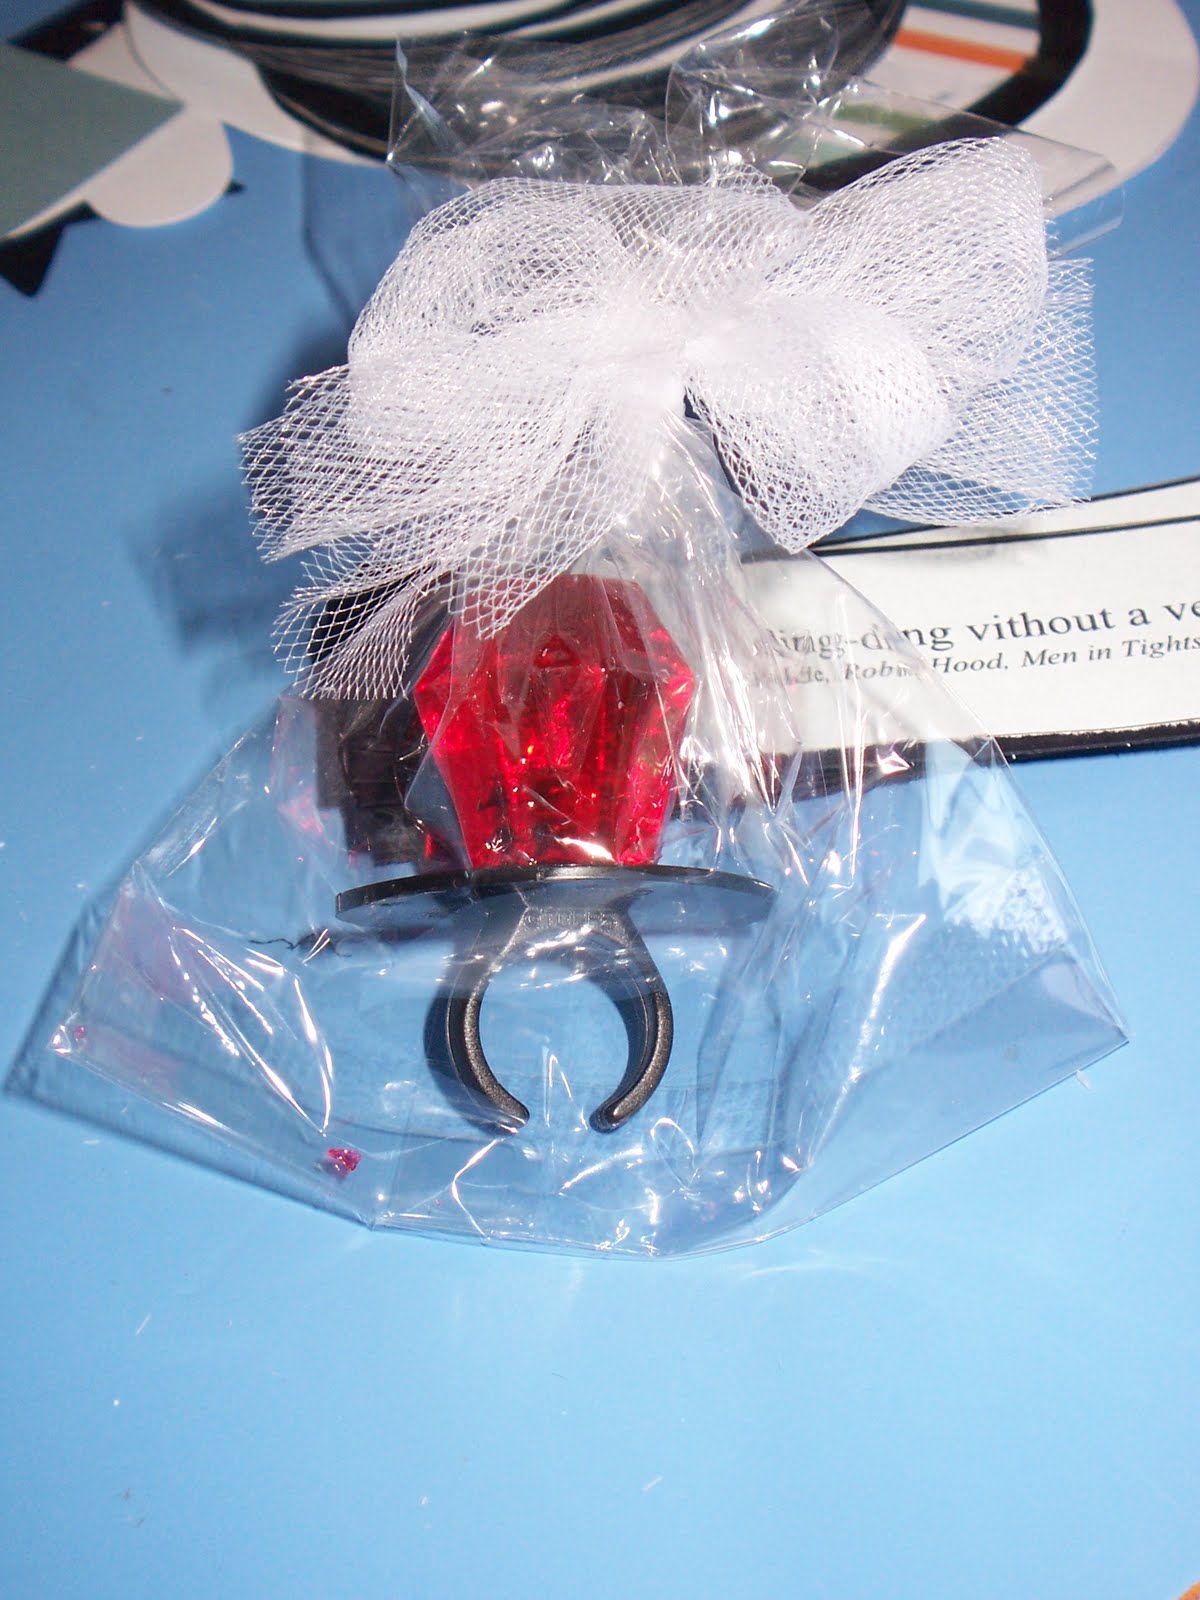
Today I am going to start with a very simple favor for a bachelorette party.


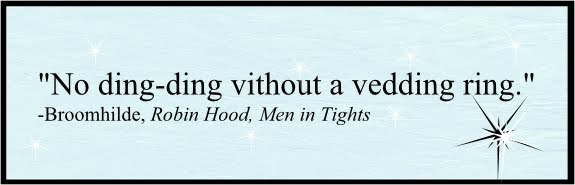
I  made a tag for the favor using black cardstock and the picture below. I created the picture below and then copied and pasted it into a word document re-sizing it until it was the size I wanted and printed out two pages of 6. Feel free to copy and paste this into a word document, but! the rights are still mine!

Put a ring pop into a 4 by 6 cello bag and tie up with ribbon or tulle.

Print out your tags and paste onto cardstock. Trim leaving a little space for punching a hole.
Thread onto your ribbon and... voila! A simple and silly favor for a bachelorette party.

Monday, March 15, 2010

Make over Monday

I think it's fun how lots of you out in blogland have a themed day or two. I think I am going to try to post something I have made over every Monday. Hopefully it will inspire you to find things around your house that you either hate, are sick of, or don't know what to do with and turn it into somehting you LOVE.

I did that with this frame.
A lot of people know how to Mod Podge a frame but I figure there might be someone out there who doesn't OR has been too scared to try it. If not I hope the look of the frame can give you an idea for how you want YOUR frame to look!


get your frame


cut your paper pieces. I cut mine a little bigger than what I needed and I will tell you why.


paint the bits that won't be covered in paper.


Mod Podge your paper onto the frame.

Using a nail file or sanding block sand along the edges of the paper that is hangin over the sides. This trims your paper to the perfect size and lends a shabby touch!


using a dry paint brush 'dirty up' your frame/ distress it by painting in crevices and streaking on the paper and/or paint.

Mod Podge the whole thing.


Pull one side of wire from wired ribbon to bunch up one side of your 'flower'. Twist until it is a flower shape. Take some felted wool (or just felt) and cut it into a circle. Using pinking shears (or just do it by hand) cut along the outside of the cirlce to create a jagged edge. shove that down inside and hot glue the whole thing onto your frame. The hot glue should hold the center in place and glue the entire flower onto your frame.