Every year, I host a small get together with a few family members and we eat prime rib, boiled potatoes, asparagus, etc. But before we eat that big meal, I have a light lunch with all the Christmas treats I have left after giving out neighbor gifts and what is left of what I have received (thank you, neighbors and friends!). I also set out crudites and other finger foods for snacking so we can focus on playing games and enjoying each other. Well, this year I decided I'd make a cheese ball to set out and so I browsed the worldy-widey-web looking for a recipe. I found this one from Rachel Ray that sounded good, but I am not the kind of cook who follows many recipes exactly. So, I am going to share with you the recipe I came up with for a pizza cheese ball.
Pizza Cheese Ball
Ingredients:
1/2 C. (or about 2.5 ounces) Parmesan, romano, asiago three cheese blend from the deli case
1 8oz. brick cream cheese, softened
Green parts from three green onions, snipped finely with scissors
2 T. snipped fresh parsley
Garlic powder
Dried oregano
1/2 C. (about) Bread crumbs
Butter
Salt
10-15 pepperoni slices, chopped finely
1/2 red bell pepper, roasted, peeled, and diced

Outer coating:
Melt 1-2 T butter in a sauce pan with about 1/2 t. garlic powder (to start) and about 1/4-1/2 t. salt (if you buy salted butter, you can leave the salt out).
Dump in the bread crumbs, stir to coat in garlic/butter mixture, and toast them, stirring regularly. Taste to make sure you have enough garlic. I ended up sprinkling some in after, but I hadn't measure exactly. I even added a bit of oregano (NOT MUCH!) during this part.

Roasted bell pepper:
I had my oven up to 400* because I was baking some potatoes. I placed by half of a bell pepper, skin side up, in the oven and cooked for about 25-30 minutes (or until the skin bubbles and turns black over most of it). Pull it out of the oven when it's done, cover it, let it sit for about fifteen minutes. This will help the skin get loose and it will make the pepper easier to handle. Once it has been sitting for about fifteen minutes, the skin should peel right off. I then slice it length-wise and then finish dicing it.

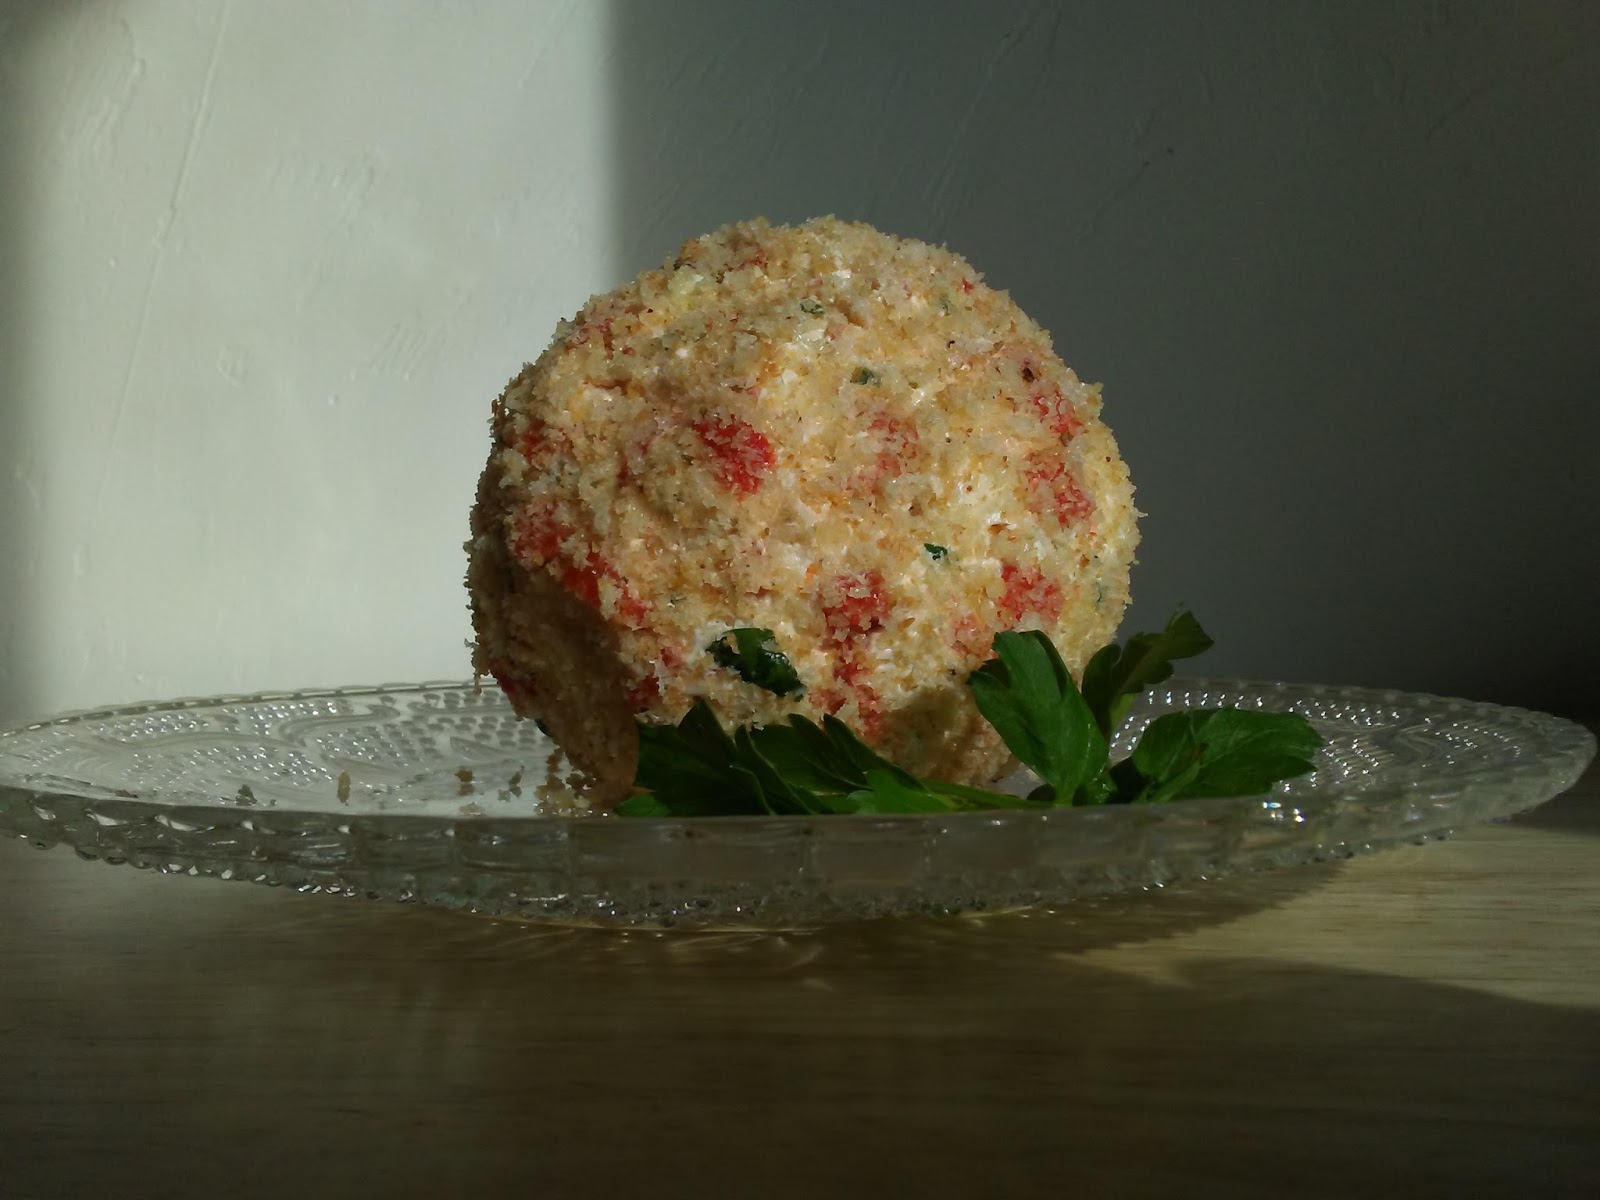
Making the cheese ball:
Dump about 1 t. oregano (more or less depending on your preference. I do not love oregano so I did enough to taste it, but not be overwhelmed by it), 1 t. garlic powder (or to taste), a few twists of a pepper grinder, the cheese blend, the pepperoni, the diced red bell pepper (it MUST be roasted), the snipped parsley, the snipped green onion. Stir it all up.

Then, add the softened cream cheese. Stir this all up (it looks so festive!) and taste on a cracker -- add more seasonings if you want. Roll into a ball with clean hands and then roll in the toasted garlic-bread bread crumbs (you could add some of that powdery Parmesan cheese if you wanted) and place on a plate. Chill until it you are ready to serve it! If you find it isn't holding its shape, chill it for a while and then roll it back up again.

Happy eating!!!!


